English
 Español
 Русский

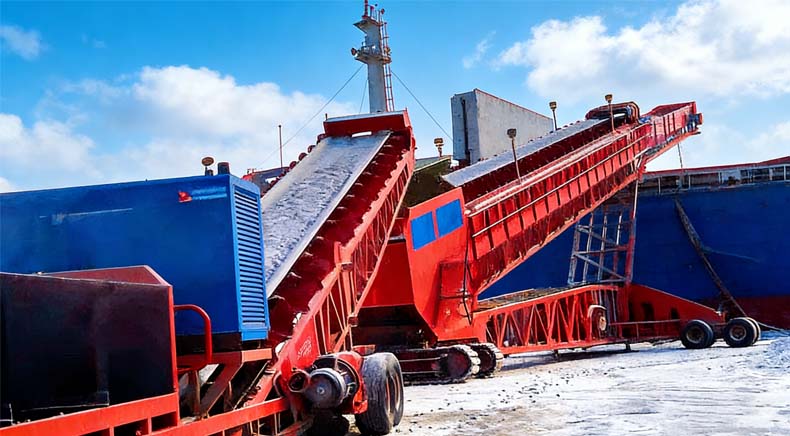
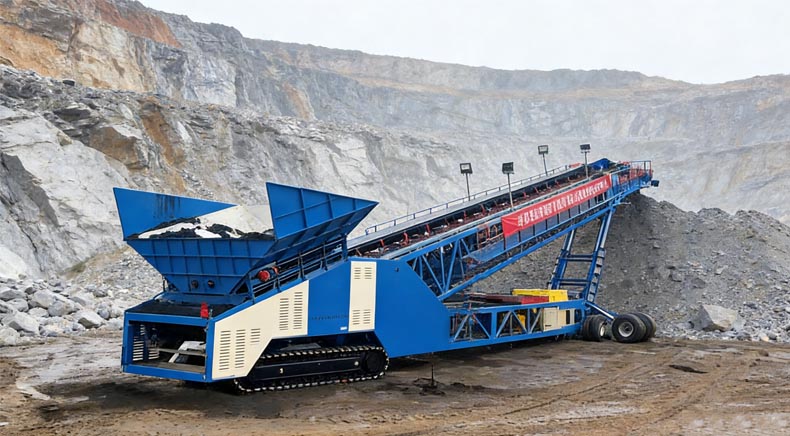
Conveyor Belt Misalignment and Adjustment Methods & Measures
Introduction: Belt misalignment is one of the most common and troublesome issues in belt conveyor operation. It not only causes material spillage and wear to the belt and structures, but in severe cases can also lead to safety incidents.
The key to solving misalignment issues lies in "systematic analysis and targeted solutions." Misalignment is often the result of multiple interacting factors, requiring a systematic inspection and adjustment process.

Below, I will discuss the causes and corrective measures for belt misalignment.
01
Main Causes of Belt Misalignment
The fundamental principle of misalignment is: When the forces acting on the two sides (width direction) of the belt are uneven, the belt will deviate toward the side under greater tension. This is typically caused by the following factors:
Equipment Installation and Manufacturing Precision Issues (accounting for approx. 60%-70% of cases)
Unstraight frame and guide rails: This is the most common cause. The frame centerline is not straight, the head and tail pulley centerlines are not parallel, or the entire conveyor is not horizontally level longitudinally.
Pulley installation issues: The axis of the drive pulley, bend pulley, or take-up pulley is not perpendicular to the belt centerline, or the pulley itself has an inconsistent diameter (tapered) due to manufacturing defects or wear.
Idler installation issues: The axis of the carrying idler set or return idler set is not perpendicular to the belt centerline, or the installation position is off-center.
Belt-Related Issues
Unstraight belt splice: A misaligned vulcanized or mechanical splice causes uneven tension and different perimeter lengths on the two sides of the belt.
Aged and deformed belt: Long-term use leads to uneven wear, edge damage, or localized core breakage, causing the belt to become "dished" or lose its troughability.
Uneven belt quality: Uneven tension line distribution during manufacturing creates "internal stress" in the belt, making it prone to "snaking."
Material Load and Chute Point Issues
Off-center chute point: The feed chute, plow, or upstream equipment discharge point is not centered on the belt, causing material impact force to push the belt to one side.
Uneven material loading: Material is distributed unevenly on the belt, with more on one side than the other, leading to unbalanced gravity and misalignment.
Material characteristics: Sticky materials adhere to pulleys or idlers, causing localized diameter changes.
Maintenance and Operational Issues
Inadequate cleaning: Failed belt scrapers allow material (especially sticky substances) to build up on pulley or idler surfaces, making them "conical."
Damaged or seized idlers: Idlers that do not rotate or turn sluggishly increase frictional resistance against the belt.
Insufficient or uneven tension: Too little tension reduces belt stability; inconsistent adjustment on both sides of a gravity or screw take-up system causes imbalance.
External environmental influences: Wind, rain, etc.
02
Systematic Measures for Correcting Misalignment


We should follow a golden rule when handling misalignment: "Runs to the high side, runs to the tight side, runs ahead." This means the belt tends to move toward the side that is higher, the side under tighter tension, and the direction of relative motion (ahead of idlers or pulleys). This rule helps determine the adjustment direction.
Step 1: Comprehensive Inspection and Initial Assessment
Observe the misalignment pattern:
Misalignment when empty, normal when loaded: Usually an installation accuracy issue (misaligned idlers, pulleys).
Normal when empty, misalignment when loaded: High probability of off-center chute point or uneven material loading.
Misalignment at a fixed location and fixed direction: Inspect the pulleys, idlers, or frame at that specific location.
Erratic, wandering misalignment: Possibly due to an unstraight belt splice, insufficient tension, or stiff idler rotation.
Inspect along the line: Check from head to tail whether all pulleys and idlers rotate freely, have material build-up, or show uneven wear. Check the frame for deformation or looseness.
Step 2: Targeted Adjustment Measures
A. Adjusting Carrying Idler Sets (Most common and effective method)
For troughed idler sets, misalignment can be corrected by adjusting the forward tilt angle of the side idlers.
If the belt runs off on one side, move the idler on that side forward in the direction of belt travel (or move the idler on the opposite side backward).
Most upper idler frames have slotted mounting holes for fine adjustment. Adjust little by little, observe the effect, and avoid large adjustments at once.
B. Adjusting Pulleys
Head Drive Pulley: If the belt runs off to the right side of the pulley, move the right bearing housing forward (or the left one backward). This increases belt tension on the right side, pulling the belt back.
Tail Bend/Take-up Pulley: The adjustment method is opposite to that for the drive pulley. If the belt runs off to the right side of the pulley, move the right bearing housing backward.
Principle: Pulley adjustments must be made very cautiously, in small increments. After adjustment, re-check the pulley's level and perpendicularity.
C. Adjusting the Loading Point
Adjust the position and angle of the skirt boards in the chute to ensure material lands on the belt center, and the material's velocity and direction match the belt travel direction.
Consider installing impact idlers or "comb-type" feeder plates to reduce material impact force.
D. Inspecting and Correcting the Belt Splice
If a splice issue is suspected, the splice must be remade, ensuring absolutely equal perimeter lengths on both sides of the splice and perfect perpendicularity to the belt centerline.
E. Using Specialized Tracking Devices (When above methods are insufficient)
Self-aligning idler sets: When the belt deviates, the idler frame base automatically rotates to an angle, generating a transverse thrust to re-center the belt. This is the most effective passive tracking device and should be installed at intervals (e.g., every 30-50 meters).
Side guide rollers (anti-misalignment vertical rollers): Vertical rollers installed at both belt edges to forcibly prevent excessive deviation. This is "hard tracking" that can easily damage belt edges and should only be used as a last-resort protective measure.
Friction tracking rollers: Adjustable friction rollers installed near pulleys that apply counter-friction to the running edge on the deviation side.
Step 3: Preventive Maintenance (Fundamental Solution)
Regular Inspection and Cleaning: Establish a patrol inspection system. Clean material build-up from pulleys and idlers promptly. Replace damaged or non-rotating idlers.
Ensure Installation Quality: For new installations or major overhauls, strictly calibrate the frame centerline and pulley level/perpendicularity.
Standardize Operation: Feed material evenly; avoid single-point impact loading.
Select High-Quality Belts and Idlers: Ensure equipment quality at the source.
03
Summary and Recommendations
When dealing with misalignment issues, always ensure power is locked out and tagged out before any work to guarantee safety. Follow the principle of "small increments, multiple adjustments, adjust and test simultaneously." For complex problems beyond your capability, contact the equipment manufacturer or professional maintenance personnel. Starting from the root causes (installation, feeding) and focusing on daily maintenance are the most economical and effective ways to solve belt misalignment problems.